Before we get started you'll grab a few items:
1. A pencil, some paper and a few coloured pencils or crayons if you have them. I highly recommend graph paper. You can download some by clicking here.
2. A measuring tape
3. A camera. This isn't absolutely necessary but a great help.
Begin by sketching your area of focus. If you intend to create a master plan for your entire property you'll probably want to start by sketching parts of the property and combining those sketches later on.
At this point don't try and be exact. Just measure and draw dimensions- lengths and widths relative to each other. For example if the driveway extends about one car length past the garage draw it that way. We'll refine these later so don't get hung up on getting it exactly right the first time. Here's a (refined) sketch of the courtyard we're using just as an example. At this point just get all the major elements: hard surfaces, walls, doors and windows down on paper. This is what the coutryard looks like in simple shapes.
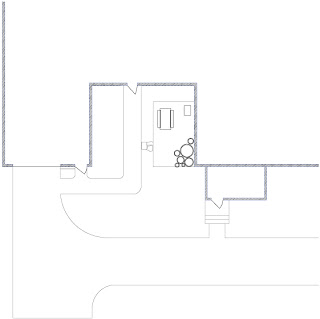 Use colour to better define certain areas if that helps.
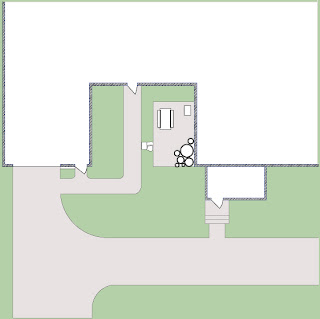 You're probably going to redraw this several times so don't get hung up on doing it over and over. Each base map will be better than the previous. Measure all the distances you can to help better refine the plan. Mark those dimensions on the plan. Then redraw it to better represent the accurate distances.
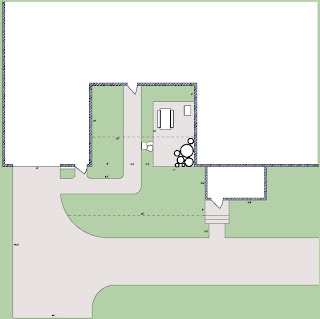 Now label all of the physical items you think relevant to your plan. Be sure to include existing plants. Include cardinal directions- North, South, East and West.
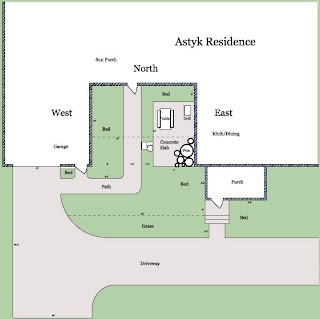
Now add notes about site features. These might include activities, persistent problems, great views, the place where the cat always sleeps, etc. This is where the answers to your questions start to merge with your base plan. You might want to take pictures for a record of what some of these site features look like. This might make redrawing the plan easier too.
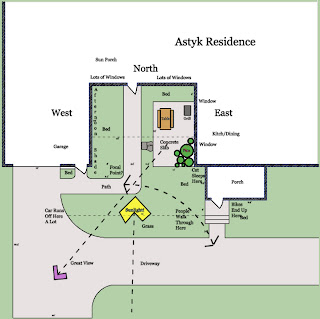 The key to creating a successful base plan (and I know I've already mentioned this but it really is important) is to realize that you are going to redraw this thing many, many times before you get it exactly as you want it. Think of it as a living document that is going to change throughout the process, not a perfect picture of what you have now or plan to create in the future.
The graph paper I mentioned above can help with getting the dimensions drawn more accurately. Let one square represent a unit of distance. 1 square = 1 foot for example. If you find that doesn't give you a big enough sheet of paper try 1 square = 2 feet. This would mean drawing a 10 foot long wall using 5 blocks. If you still don't have enough room try 1 square = 5 feet. Now that 10 foot wall would only be 2 blocks long on your base plan. Eventually you'll find a scale that will work.
Next we're on to basic design. First we'll use the answers to our questions to put in place hardscape elements like new paths.

Then we'll add key elements; in this case potential sites for a trellis.

Lastly we'll begin to add plant material in general terms.

This plan is be no means complete. From here we would make a final decision about the location of a trellis, we would research keyhole gardens and decide about that too. We would also refine the plant material to include specific varieties that meet the requires described at this stage of the plan. The more complete the plan, the more likely we are to save time, money and energy. But the plan will change as your circumstances change. I hope this intital design project helps to show you how to create a base map and how to begin to make design decisions based on the needs and wants of your situation.
Aaron


No comments:
Post a Comment